Offline Exams
The Offline Exams page is the central hub for managing face-to-face exams. While major exam agendas are typically managed by the Curriculum Admin, the system also empowers Teachers to independently create exam agendas and schedules for their assigned subjects, while remaining under central supervision and coordination.
➕ Creating a New Offline Exam Agenda
As a Teacher, you can independently create exam agendas (such as Daily Quizzes, Tests, or Midterms) for the classes you teach:
-
Access the Offline Exams Menu
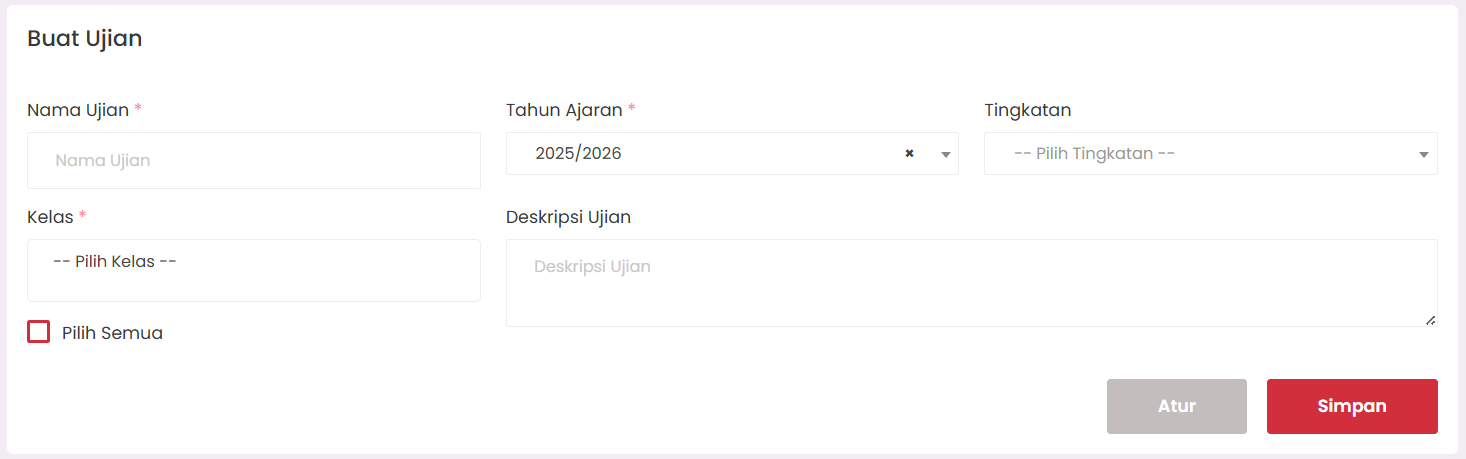
At the top of the page, you will find the exam creation form. -
Fill in the Exam Creation Form
Complete the following data:- Exam Name → Example: "Daily Assessment 1 - Mathematical Logic".
- Academic Year → Select the current active academic year.
- Level → Select the class level (X, XI, XII).
- Class → Select the specific class(es) that will take the exam. You can select one or several classes at once.
- Description → Add instructions or additional information if needed.
-
Save Exam Data
Click the Save button. The created exam will automatically appear in the Exam List table at the bottom.
📋 Exam List
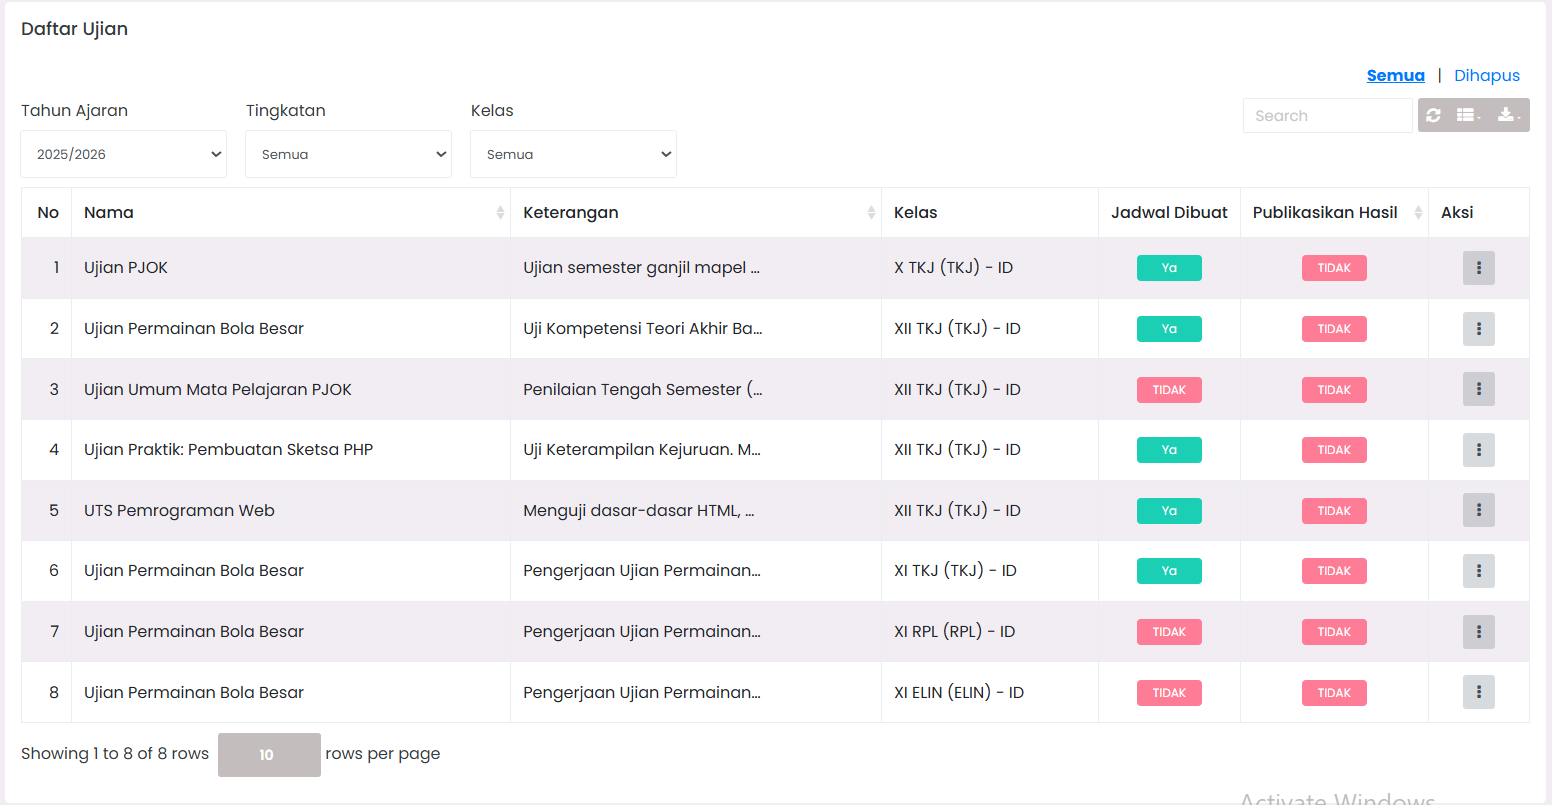
Once an exam is created, the Exam List table will display summary information:
- Exam Name & Description
- Participating Classes
- Schedule Status → Indicates whether the exam has a set schedule (Yes/No).
- Publication Status → Indicates whether the scores have been released to students.
To proceed to the next stage (setting the time and subject), please go to the Exam Schedule menu.
🏛️ Main Teacher Workflow
- Create Exam Agenda (on this page).
- Set Implementation Schedule (via the Exam Schedule menu).
- Conduct Exam offline.
- Fill in Scores (via the Upload Results menu).
- Publish Scores (click icon ⋮ → Publish on Exam List).
- Monitor Recap (via the Exam Results menu).
📞 Need Further Assistance?
If you still encounter issues, contact us via the eSchool Help Page.