Manage Student
The Add Student menu in the eSchool platform is designed to facilitate the process of inputting new student data quickly, systematically, and documented. This form must be filled in completely so that students can be registered and monitored administratively and academically.
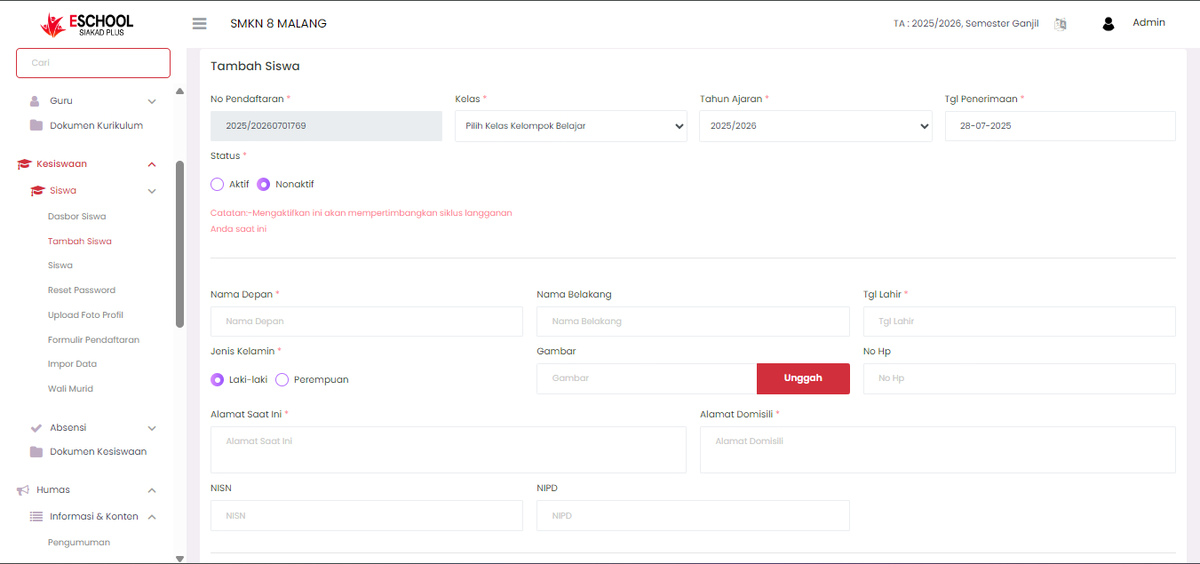
Steps to Fill the Add Student Form
1. Registration No (Automatically filled)
- The system will automatically generate a unique Registration Number, for example:
2025/2026070169. - No need to change.
2. Class (Required)
- Select the student's class/study group from the available dropdown.
- Example: "X RPL 1" or "XI TKJ 2".
3. Academic Year (Required)
- Specify the active academic year where the student will be placed, for example:
2025/2026. - This option is already available in the dropdown.
4. Admission Date (Required)
- Fill in the official date the student was admitted.
- Format:
DD-MM-YYYY, example:28-07-2025.
5. Status (Required)
There are two options:
- Active: Student immediately enters the active system and affects the subscription cycle.
- Inactive: Student will not be counted as an active user.
[!WARNING] The red note below this column provides warnings regarding activation implications.
6. First Name & Last Name
Fill in the student's full name by dividing it into two columns:
- First Name: For example "Ahmad".
- Last Name: For example "Fauzan".
If the student only has one name, fill in the "First Name" column and leave "Last Name" empty.
7. Date of Birth (Required)
- Enter the student's date of birth in the format:
DD-MM-YYYY. - Example:
01-01-2009.
8. Gender (Required)
Select one of two options:
- ♂️ Male
- ♀️ Female
9. Image (Student Photo)
- Click the "Upload" button to upload the student's official photo.
- Files should ideally be in
.jpg,.png, or.jpegformat.
10. Mobile Number
- Enter the student's active phone number (optional).
📌 Important Notes
- All entries marked with * (required) must be filled so that data can be saved and validated by the system.
- Email and mobile number are crucial, ensure there are no writing errors.
- If the guardian does not have an email, you can create a new email first so that validation runs successfully.
- Although the guardian photo is optional, it is highly recommended for more complete documentation.
Need Further Help?
If you require further assistance, contact us through the eSchool Help page.