Exams
The Offline Exams menu functions as a central management for manual-based (offline) exams conducted at school. Through this page, users can create new exams and monitor the list of exams that have been created for each class.
Creating Offline Exams
To create a new exam, follow these steps:
1. Go to Offline Exams → Exams Menu
On this page, you will find the exam creation form at the top of the page.
2. Fill in the Exam Creation Form
Several fields that need to be completed:
- Exam Name → Name of the exam to be created (example: Midterm Exam).
- Academic Year → Academic year of exam implementation.
- Grade Level → Grade level taking the exam (X, XI, XII).
- Class → Select specific class that will take the exam. There is also a Select All option to select all classes.
- Exam Description → Additional information about exam content or implementation instructions.
3. Save Exam Data
After all columns are filled, click the Save button in the lower right corner.
Saved exams will automatically enter the Exam List.
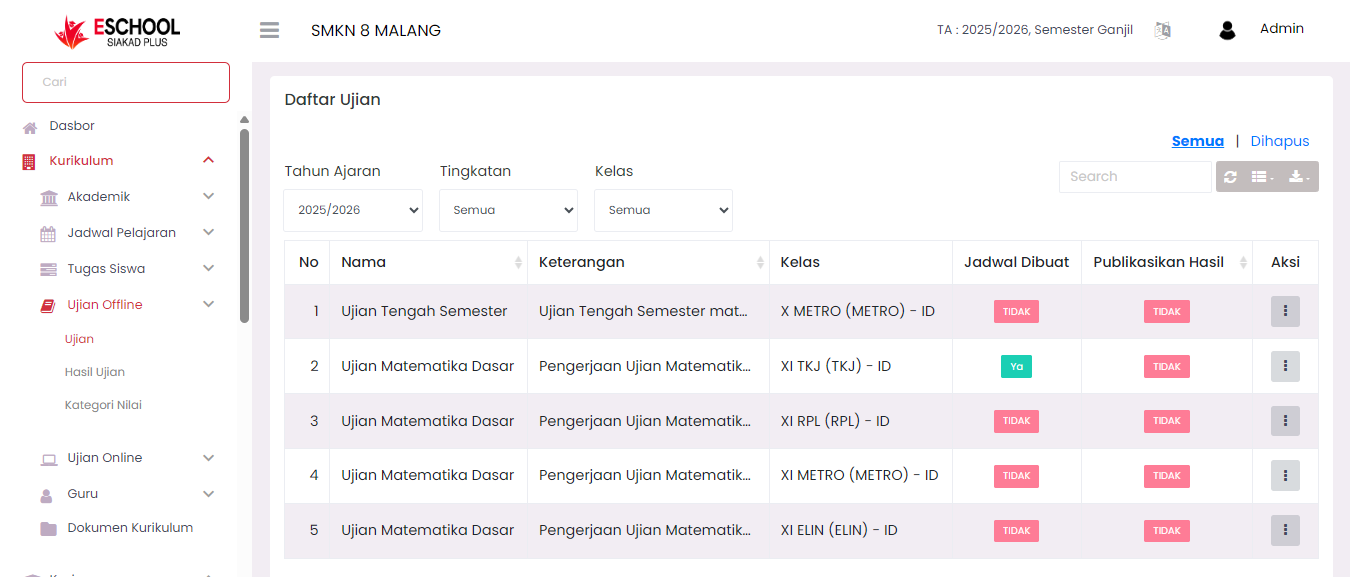
Exam List
Below the exam creation form, there is an Exam List table that displays all exams that have been created. Information presented includes:
- Exam Name
- Description (Exam description)
- Class (Exam participant class)
- Schedule Created (Status of exam implementation schedule creation)
- Publish Results (Status of exam result publication to students)
- Action (Options to view details, edit, or delete)
Exam List Features:
Academic Year
Filter exam list based on specific academic year.
Grade Level
Filter based on class level (X, XI, XII).
Class
Filter exam list according to selected class.
Search
Quick search to find specific exams based on name/description.
Action (⋮)
To manage exam details such as scheduling or exam deletion.
Status Information:
Schedule Created (Yes/No)
Indicates whether the exam already has an arranged implementation schedule.
Publish Results (Yes/No)
Indicates whether the exam results have been published to students.
Note: Exams created through this form will remain in "not yet scheduled" status until the scheduling process is done through the available exam scheduling feature.
Brief Workflow:
- Open Offline Exams → Exams menu.
- Fill in the exam creation form as needed.
- Click Save, the exam will automatically enter the Exam List table.
- Continue to the scheduling process and result publication according to school policy.
Need Further Assistance?
If you require additional support, please reach out to us via the eSchool Help Page.